You’ve decided to make your auction event easier than ever and purchased MyGala for your next fundraising auction, now what? All of our MyGala packages include training sessions for your organizational users and volunteers, but if you’re chomping at the bit to get started, this tutorial will cover the first steps in using MyGala. We want to help you succeed, so please contact us with any questions or to schedule your training session!
- Confirm event details
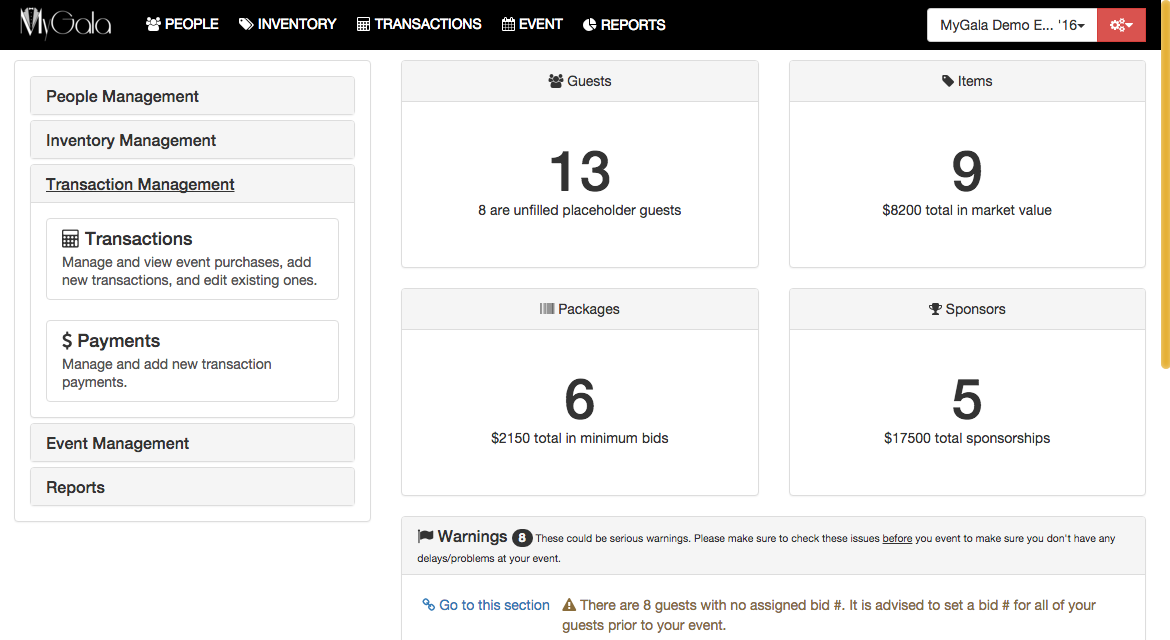
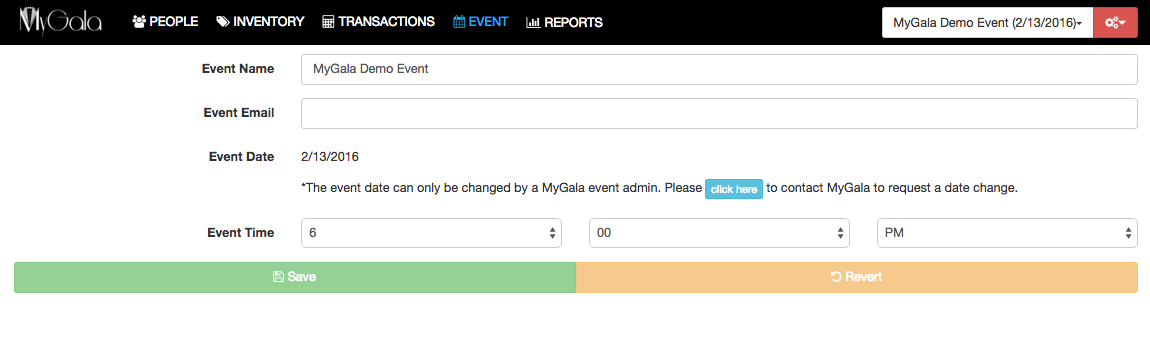
When we set up your event, we’ll add your event details. To get started, confirm that your event details are correct. From your MyGala admin page, hover over “Event” and then click on “Event details.” You can change your event name, starting time, and even the contact email. If you need to change the date of your event, please contact us to make that change.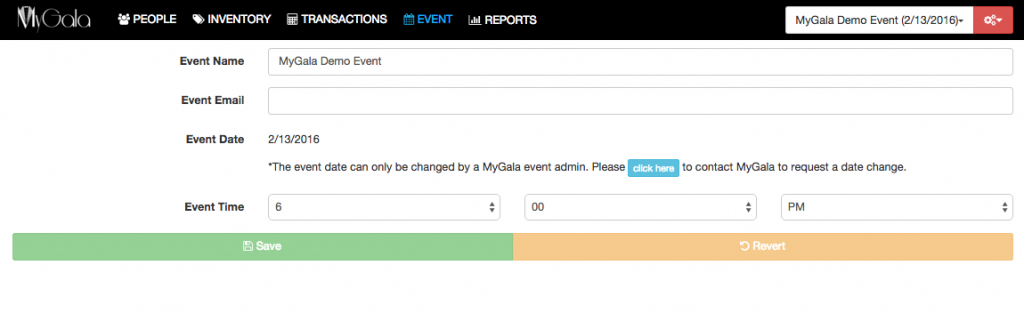
- Add organizational users
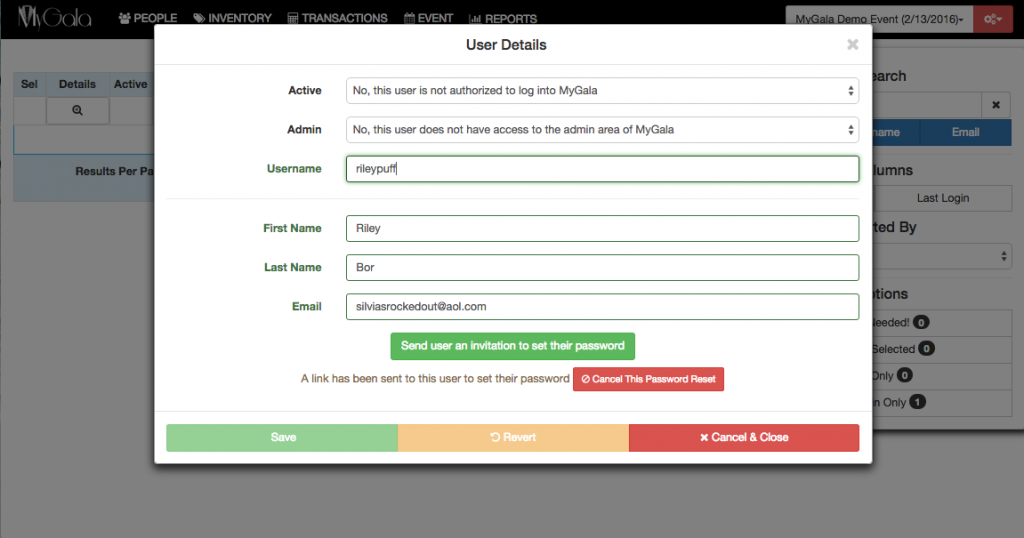
You can add new users for your organization through your MyGala admin page. From the settings area on the upper right corner, click on “Organization Users.”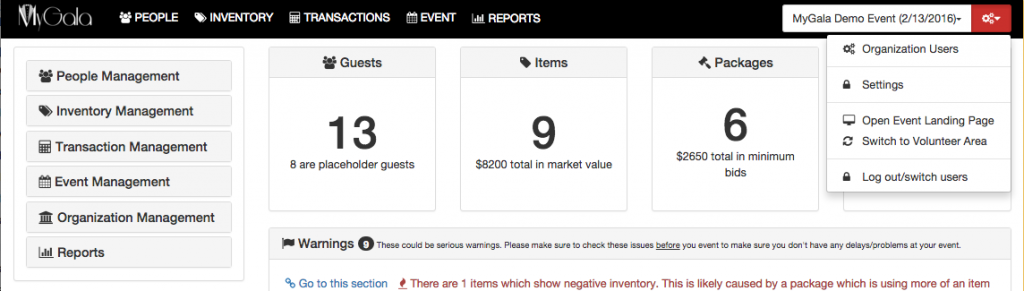 From the Organization Users section, click on “Click to add new user.” To create a new user, you need to fill out their first and last name, and provide an email address. From there, you can make them an active MyGala user, assign their access level (admin access or volunteer without access to the admin area), and assign a user name.
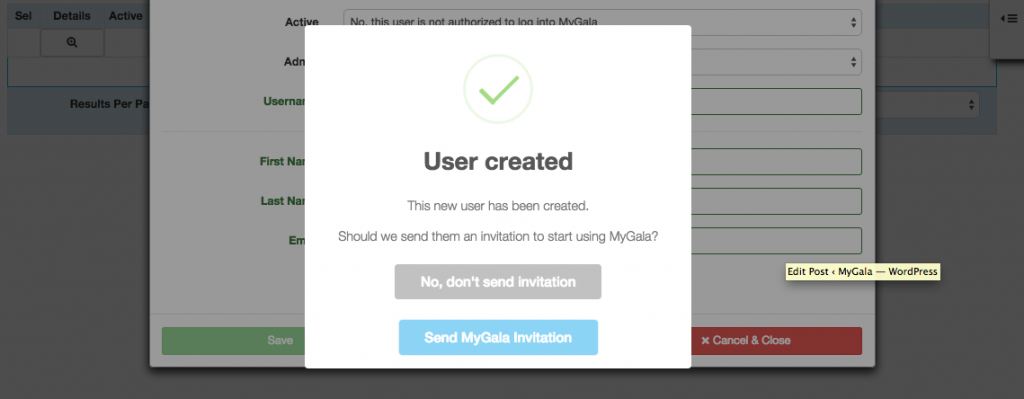
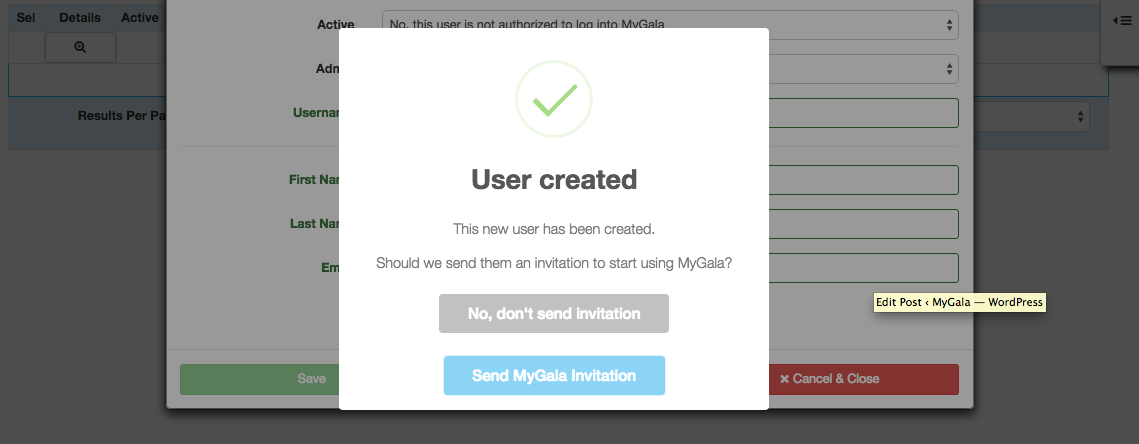
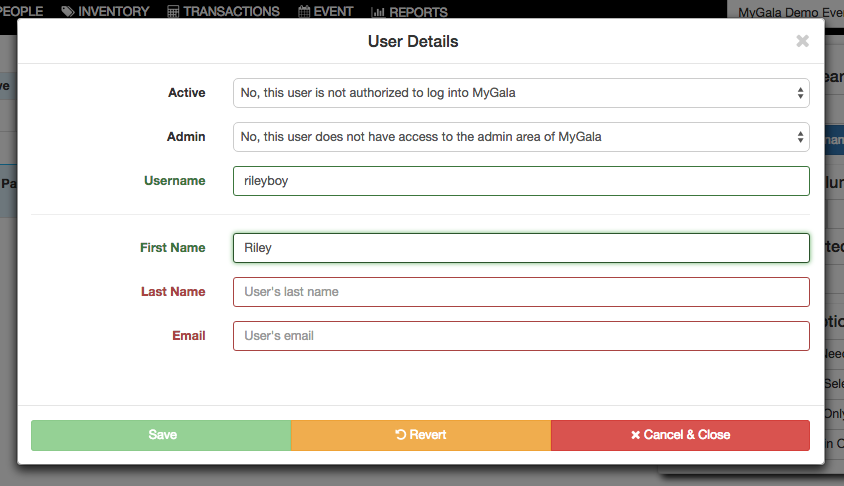 After you save, a pop-up will come up asking if you want to invite this person to use MyGala now. Click yes to send them their invitation. They will then receive an invitation from MyGala asking them to set their password and log into the system. Click no if you would rather wait until a later time to grant them access. For example, if you want to add all your volunteers to the system as you recruit them, you can create new inactive users, and wait until you’re closer to the event date to grant them access so that they don’t accidentally change anything in the volunteer area before they should.
If the user does not receive the invitation email or you would like to send the invitation at a later date, you can re-send it from their user details (simply click on the microscope with the + sign under the “Details” column, next to their name). You can also cancel the invitation if you sent it in error. This is the same place where you can help them reset their password if needed.
- Add tickets to your event
If you’re selling tickets using MyGala (one of our new features), or if you have multiple ticket types for your event, your next step will be to add tickets to your event. Under the “Event” tab in the Admin area, click on “Tickets.” Click on “Click to Add New Ticket” and fill out the information requested. You’ll need to know a ticket name, ticket description, price, and the number of tickets included. For example, let’s say you’re selling a ticket bundle that includes five tickets for the price of four at $100. You would name the bundle, put those details in the description, set the price at $100, and the number of tickets included at 5. After you’ve entered your ticket information, you can select whether to make the ticket publicly visible or to display a limited quantity. For example, if you are selling early bird tickets at a special price, you would make the ticket publicly visible at first. After the end date, you could return to the MyGala admin area and change the visibility to “hidden.” Another way to do this would be to limit the number of tickets available. For example, if you only want to sell discounted tickets for the first 25 buyers, then you would set the quantity available to 25 and the ticket type would automatically disappear from public view after the 25 tickets were purchased.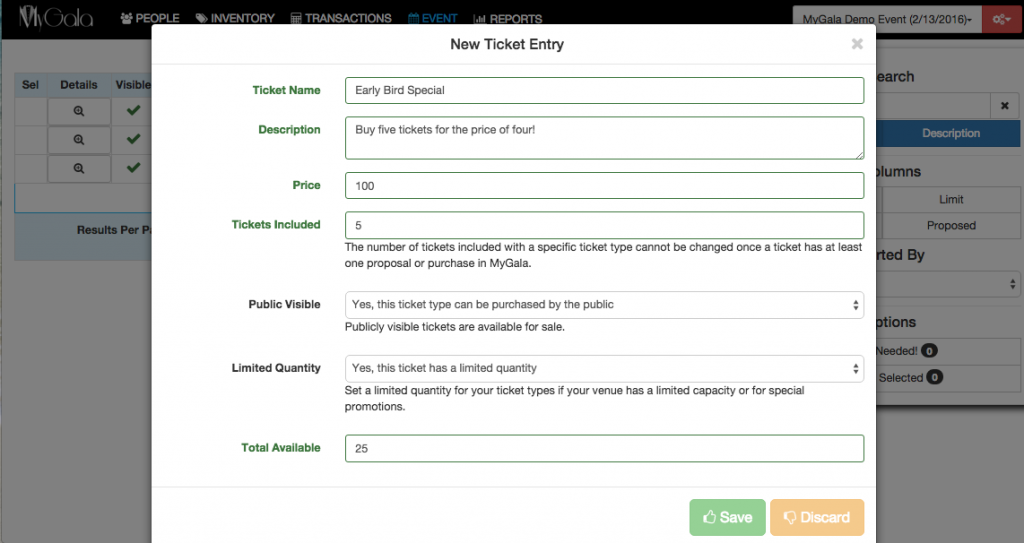
- Add event meals
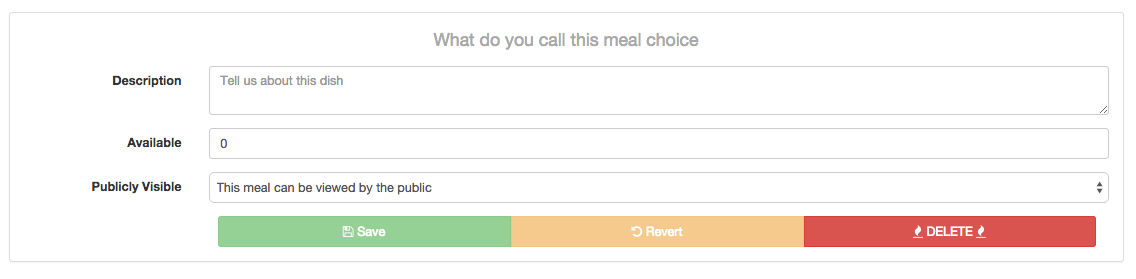
If you’ll be offering different meal options with your tickets, you should add the meal choices to your event for guests to select their option. You can do so from the “Event” tab in the Admin area under “Meals.” From there, fill out your first meal choice. Under “What do you call this meal choice,” fill out the name of the option e.g. Prime Rib. You can then add a brief description to help guests make a better decision. If you have a limited number of meal choices, you can specify under the available line. Finally, select whether the meal choice will be visible to your guests during ticket sales or not. After you click “Save,” you can scroll down and enter a new meal option. We recommend including an option for dietary restrictions or food allergies.
- Edit email templates
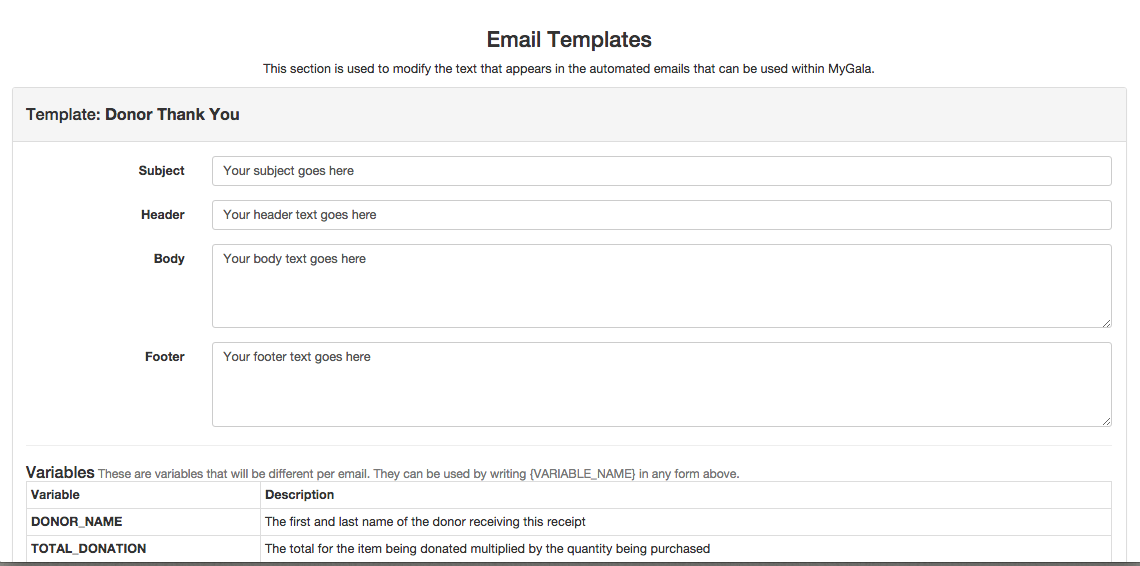
MyGala allows you to edit and customize the emails your guests receive from MyGala. We currently have five editable templates. You can access these from the “Event” tab in the Admin area. Click on “Emails.” You can edit the subject line, the header text, the body text, and footer text. All of your emails will include your organization’s logo and default text displayed in the “Emails” area. You can also personalize the emails with the contact name, the value of donations, or other variables listed. For example, the variable “Donor_Name” will insert the donor’s name within your email, wherever it is inserted. The following are brief descriptions of each of the email templates.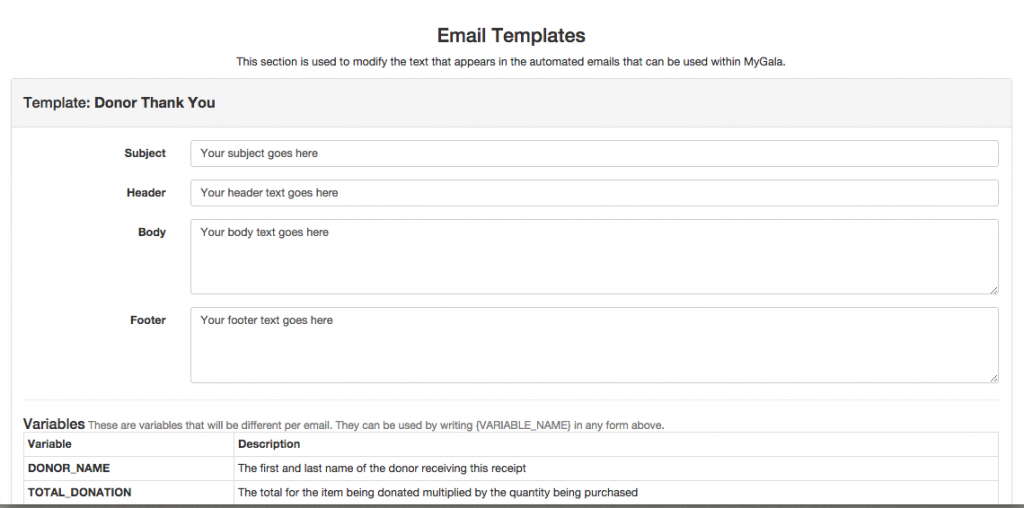 Donor Thank You – will thank your auction item donors for their donation. This email is automatically sent to your donors when they submit a donation using the auction donation form on your event landing page. You can also send this email manually through the donors area.Donor Buyer Info – will send an email to your auction item donors with the name and contact information of the person who bought their donation. This is an especially handy email for those donors that request contact information. For example, some people that donate a gift certificate for their services may want to follow up directly with the buyer so that the gift certificate will be used. This email will be sent manually by you to those donors that wish to have purchaser contact information via the donors area.Purchase Receipt – will thank your event guests for their purchases on the night of the event. This email is automatically sent to your guests when they check out at the end of the night. You can also send this email manually through the transactions area.
Ticket Purchase Receipt – will thank your event guests for their online ticket purchases on MyGala. This email is automatically sent to your guests when they submit a ticket purchase using the form on your event landing page.
Sponsor Thank You – will thank your sponsors for their sponsorship of the event. This email will be sent manually by you via the sponsors section on the admin area.
- Set up your event landing page
Lastly, you will set up your event landing page. You can do this in the “Event” tab on the Admin area. Click on “Landing Pages.” We will cover your landing page set-up in further detail in our next blog post, but for now, we’ll cover the basics. From here, your home page will be visible and ready for editing. You can edit your heading text, your main text, and the look of the page. Modifications include changing the location of the text box, the background image or color, and your text color. You can also use a specific template, such as donation suggestions, which will automatically add the auction donation submission form to that particular section of your landing page. To add a new section, you can click “+Add New Page” from the top right corner of the screen. You can also choose to make each section publicly visible or not.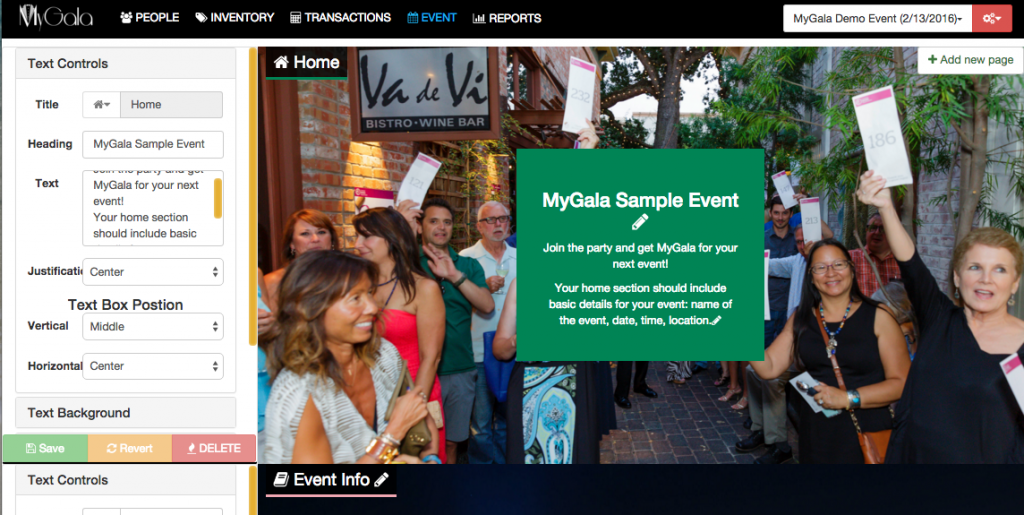


Well, we’ve covered all the basics in this post. Stay tuned for future tutorials and for video tutorials, which will cover each section in more depth. We want to make your experience as easy as possible, so please contact us with your questions or suggestions!