This is the third tutorial for the night of the event. This tutorial will teach you how to check out a guest on MyGala. For this section, you will need to know how to enter/ edit transactions. Please see our last tutorial.
Note: For the event night tutorials, you’ll need to know how to add new guests and add items for your auction. To schedule your MyGala training session, please contact us.
To start checking out a guest, please follow these steps.
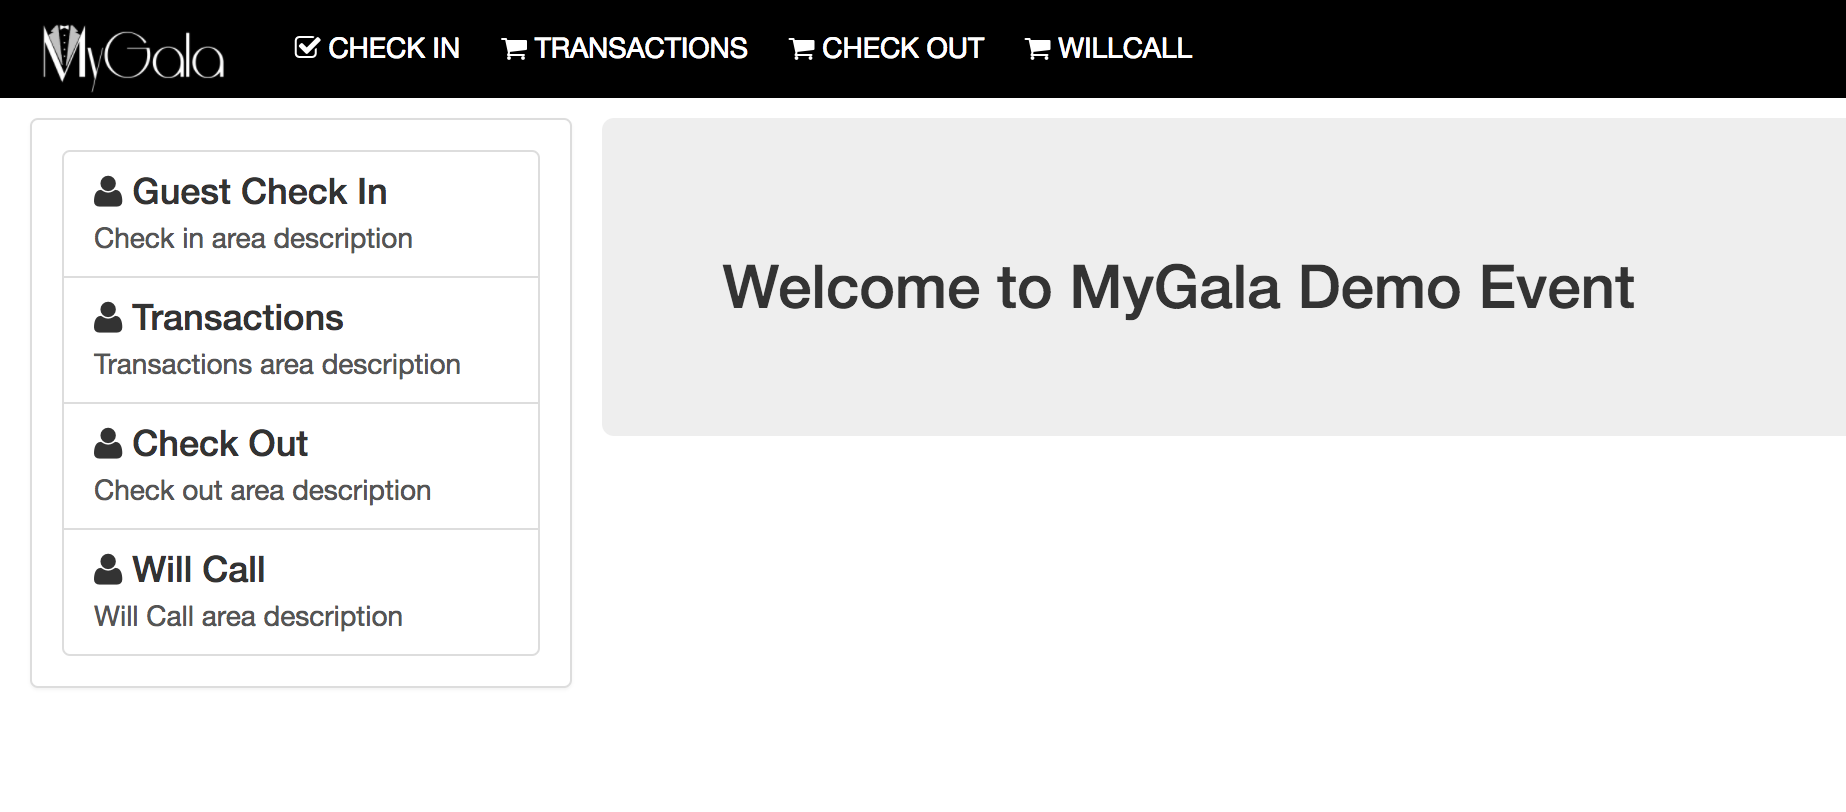
- From the MyGala Volunteer Area, Click on Check Out
You can access the Check out area from the top or left side navigation from the Volunteer area landing page.
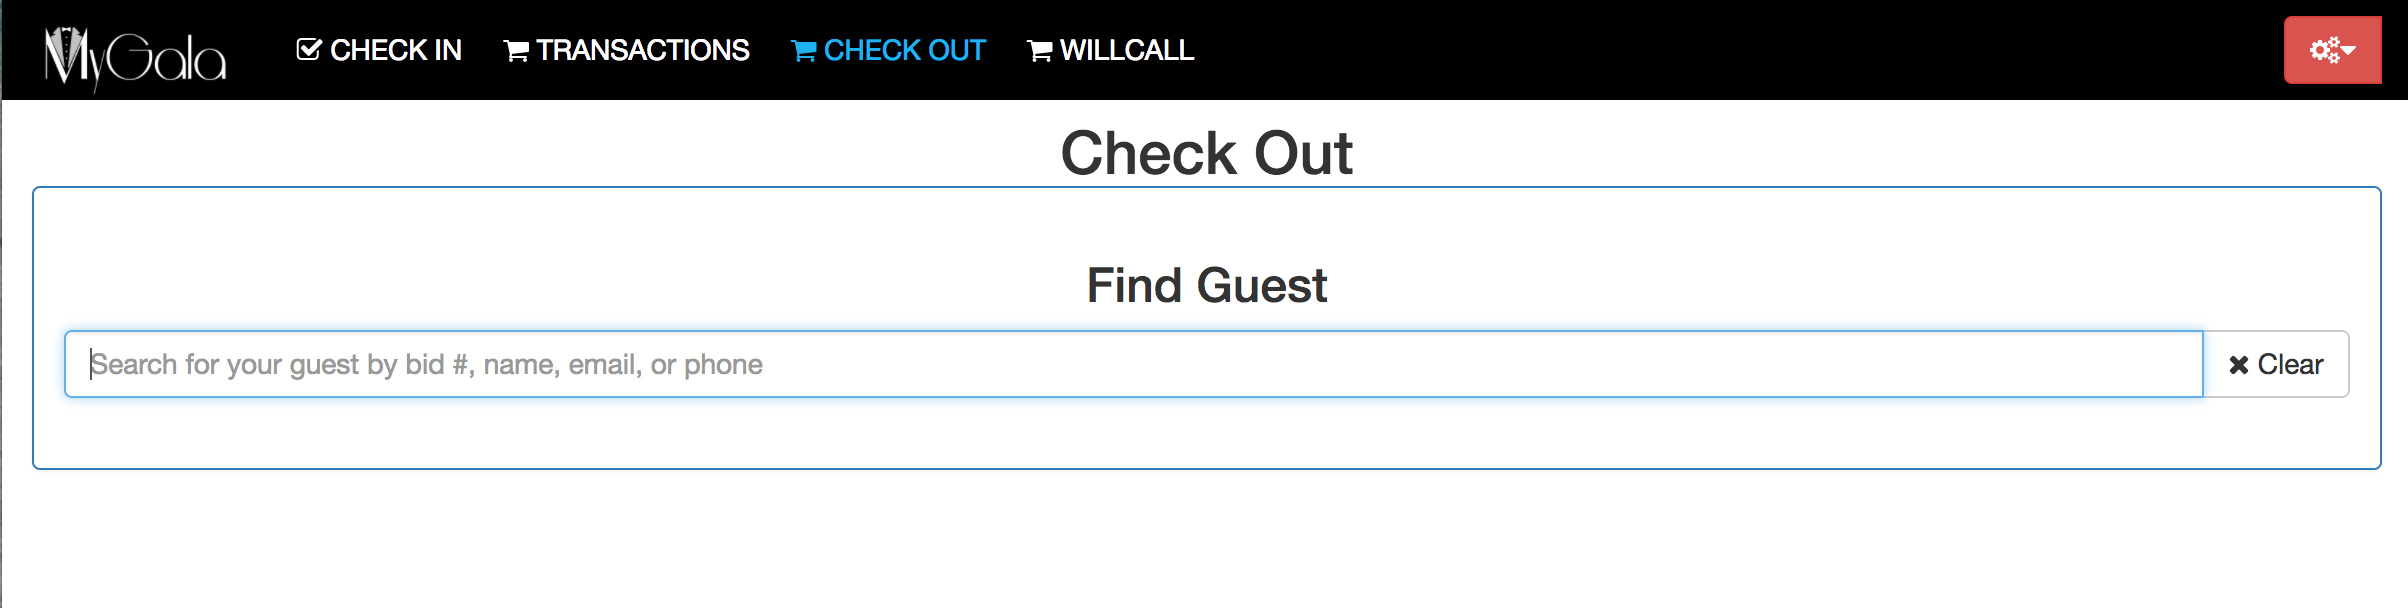
- Search for the guest
To start, enter the guest’s bid number or last name in the search field.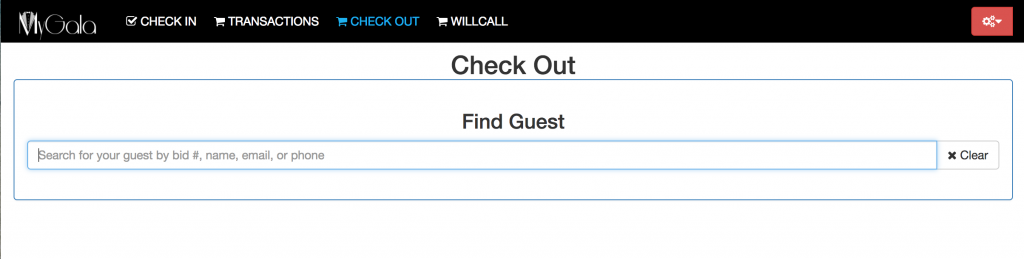
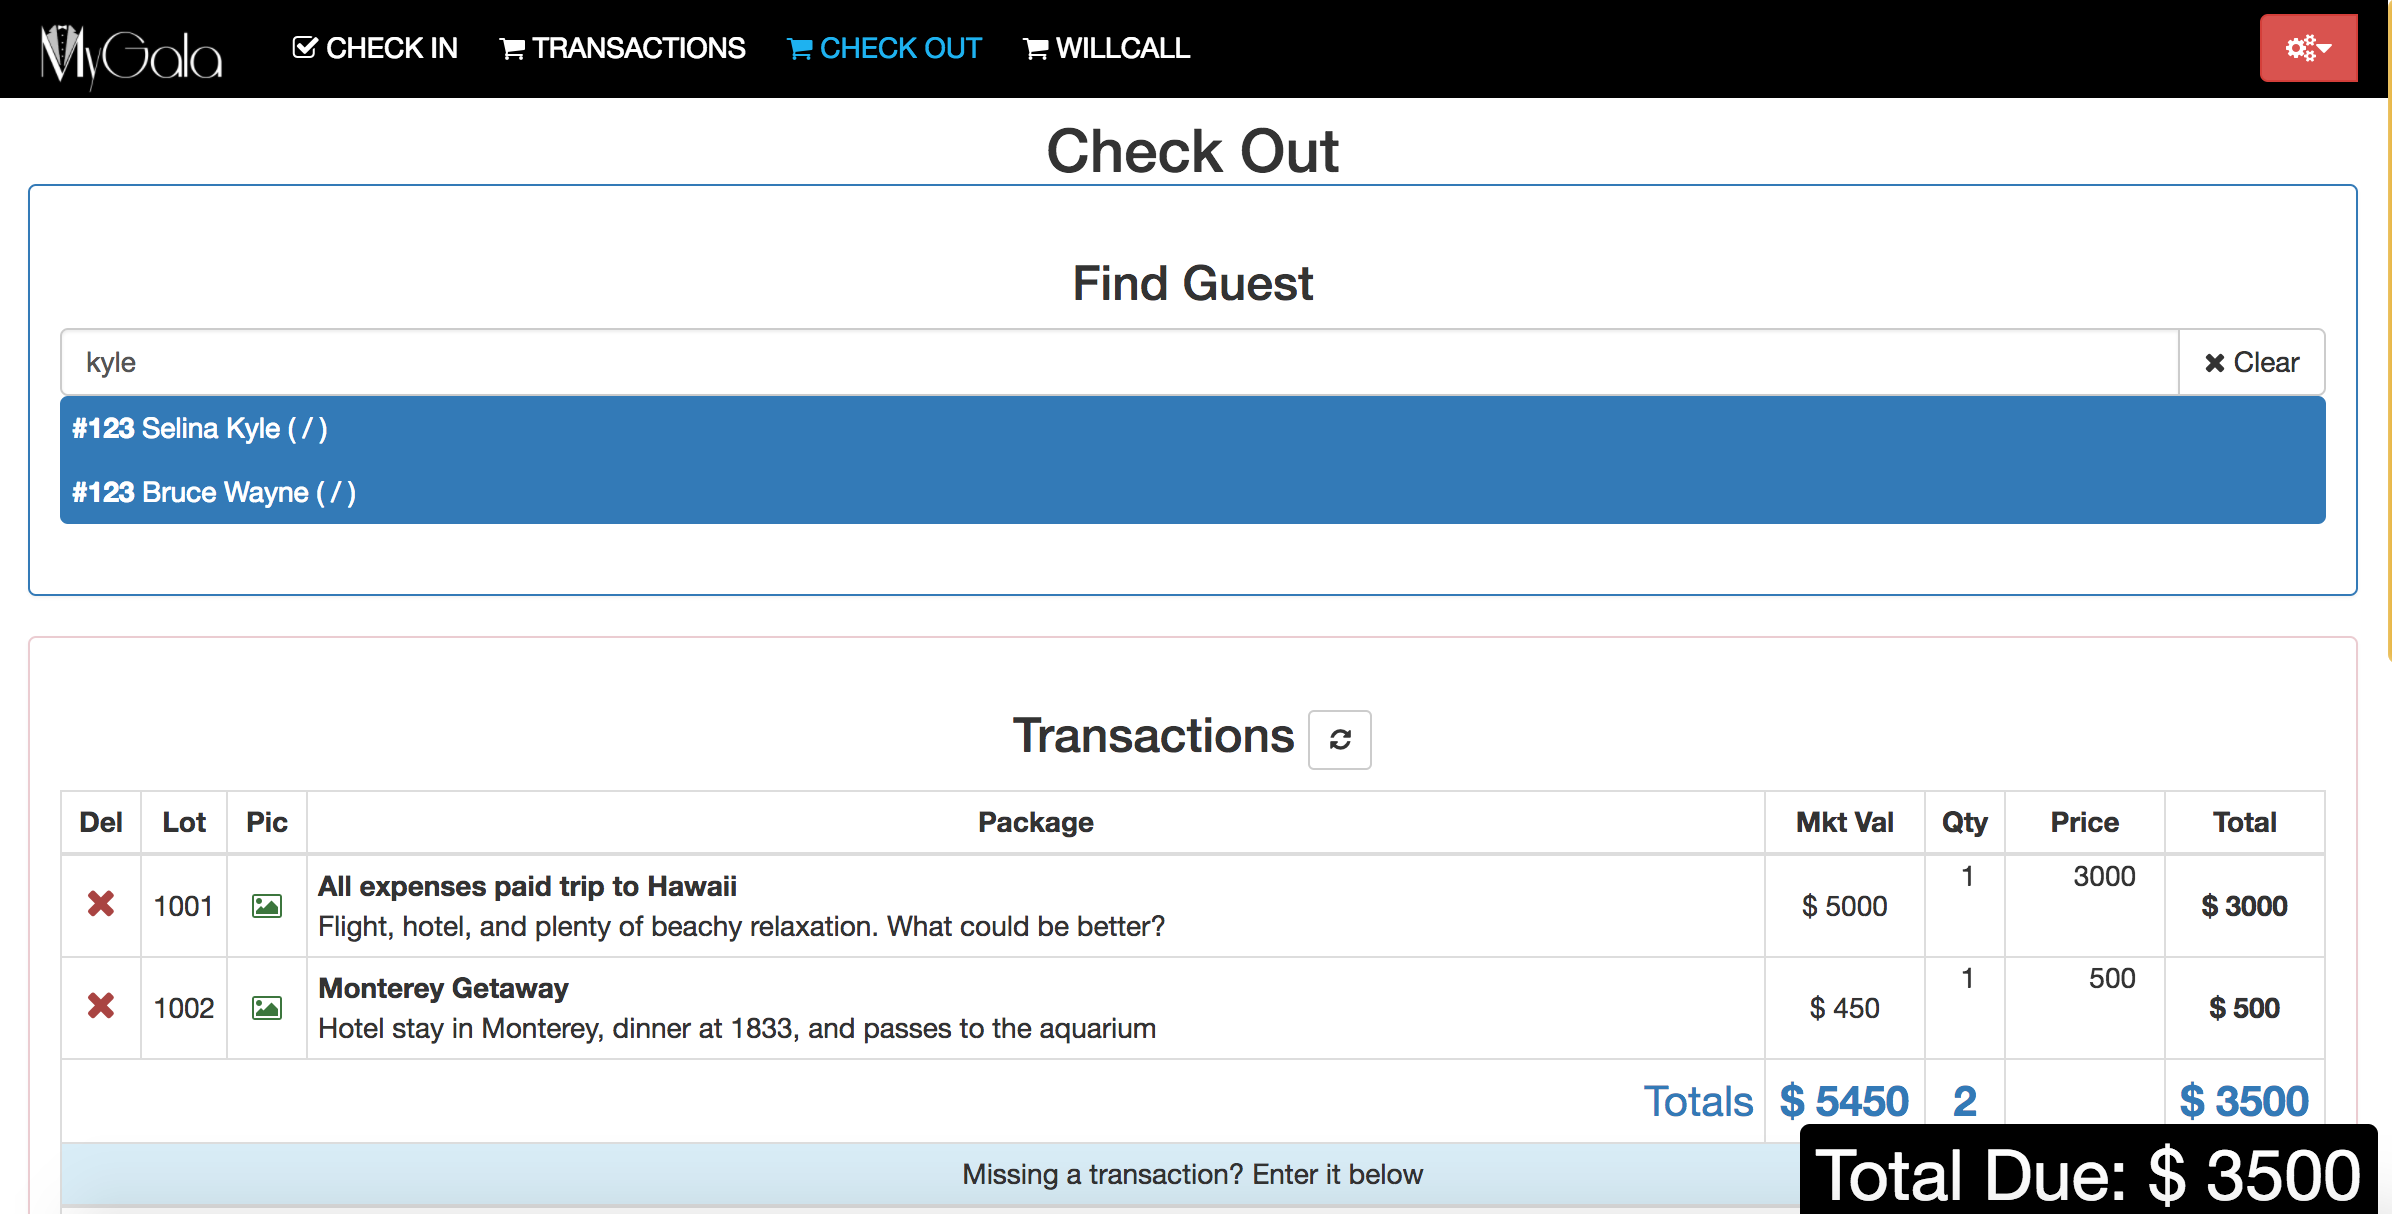
When you select the right guest, the screen will scroll down to their transactions.
- Review and edit transactions
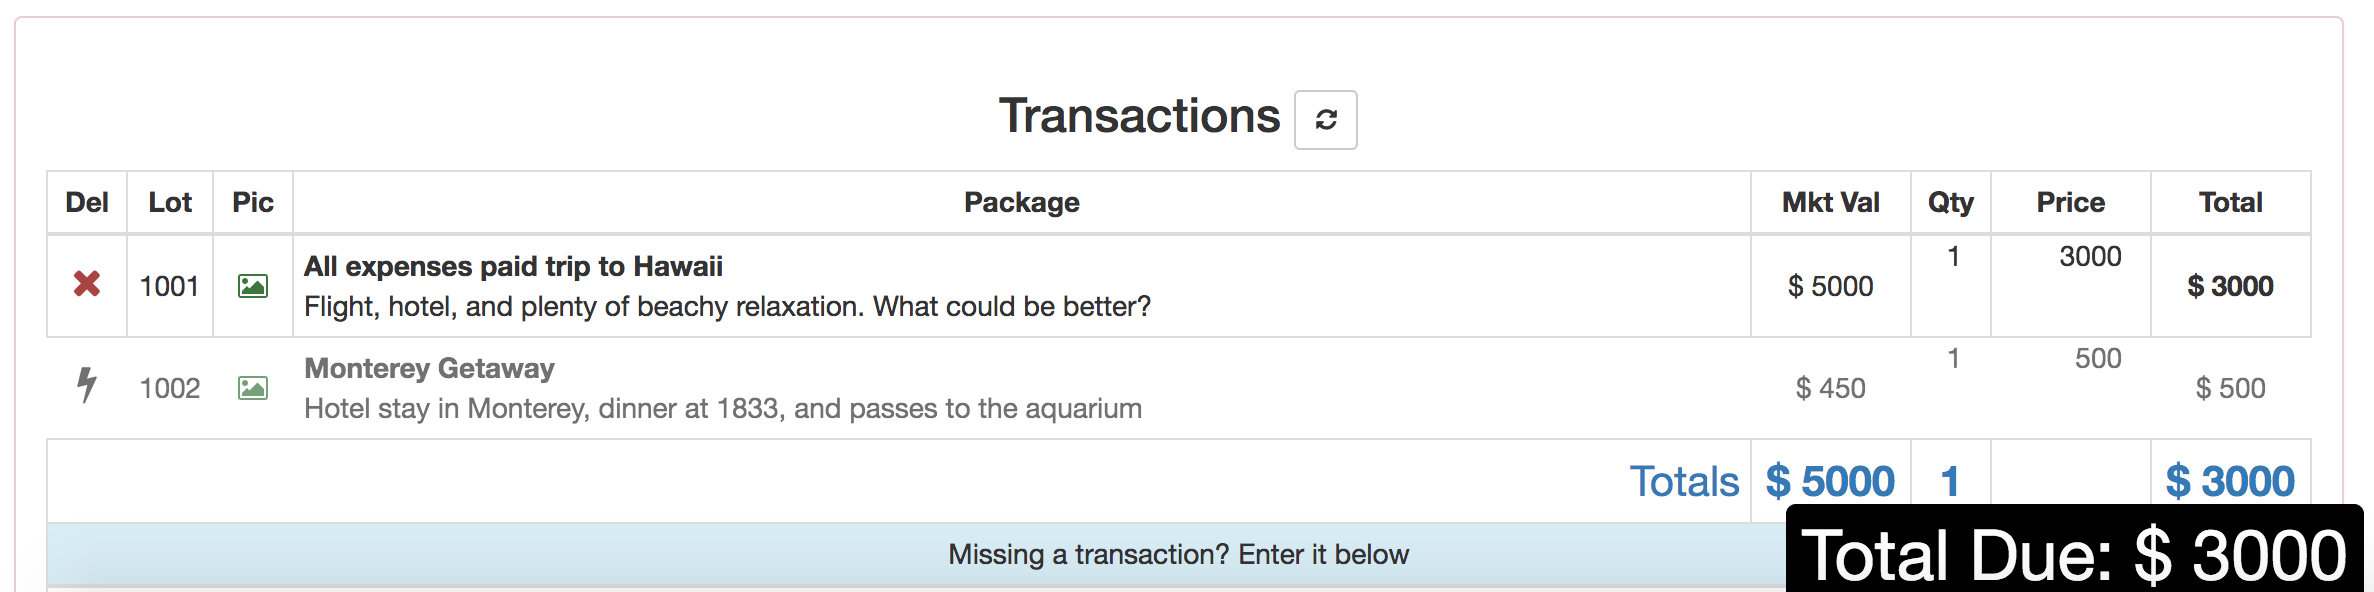
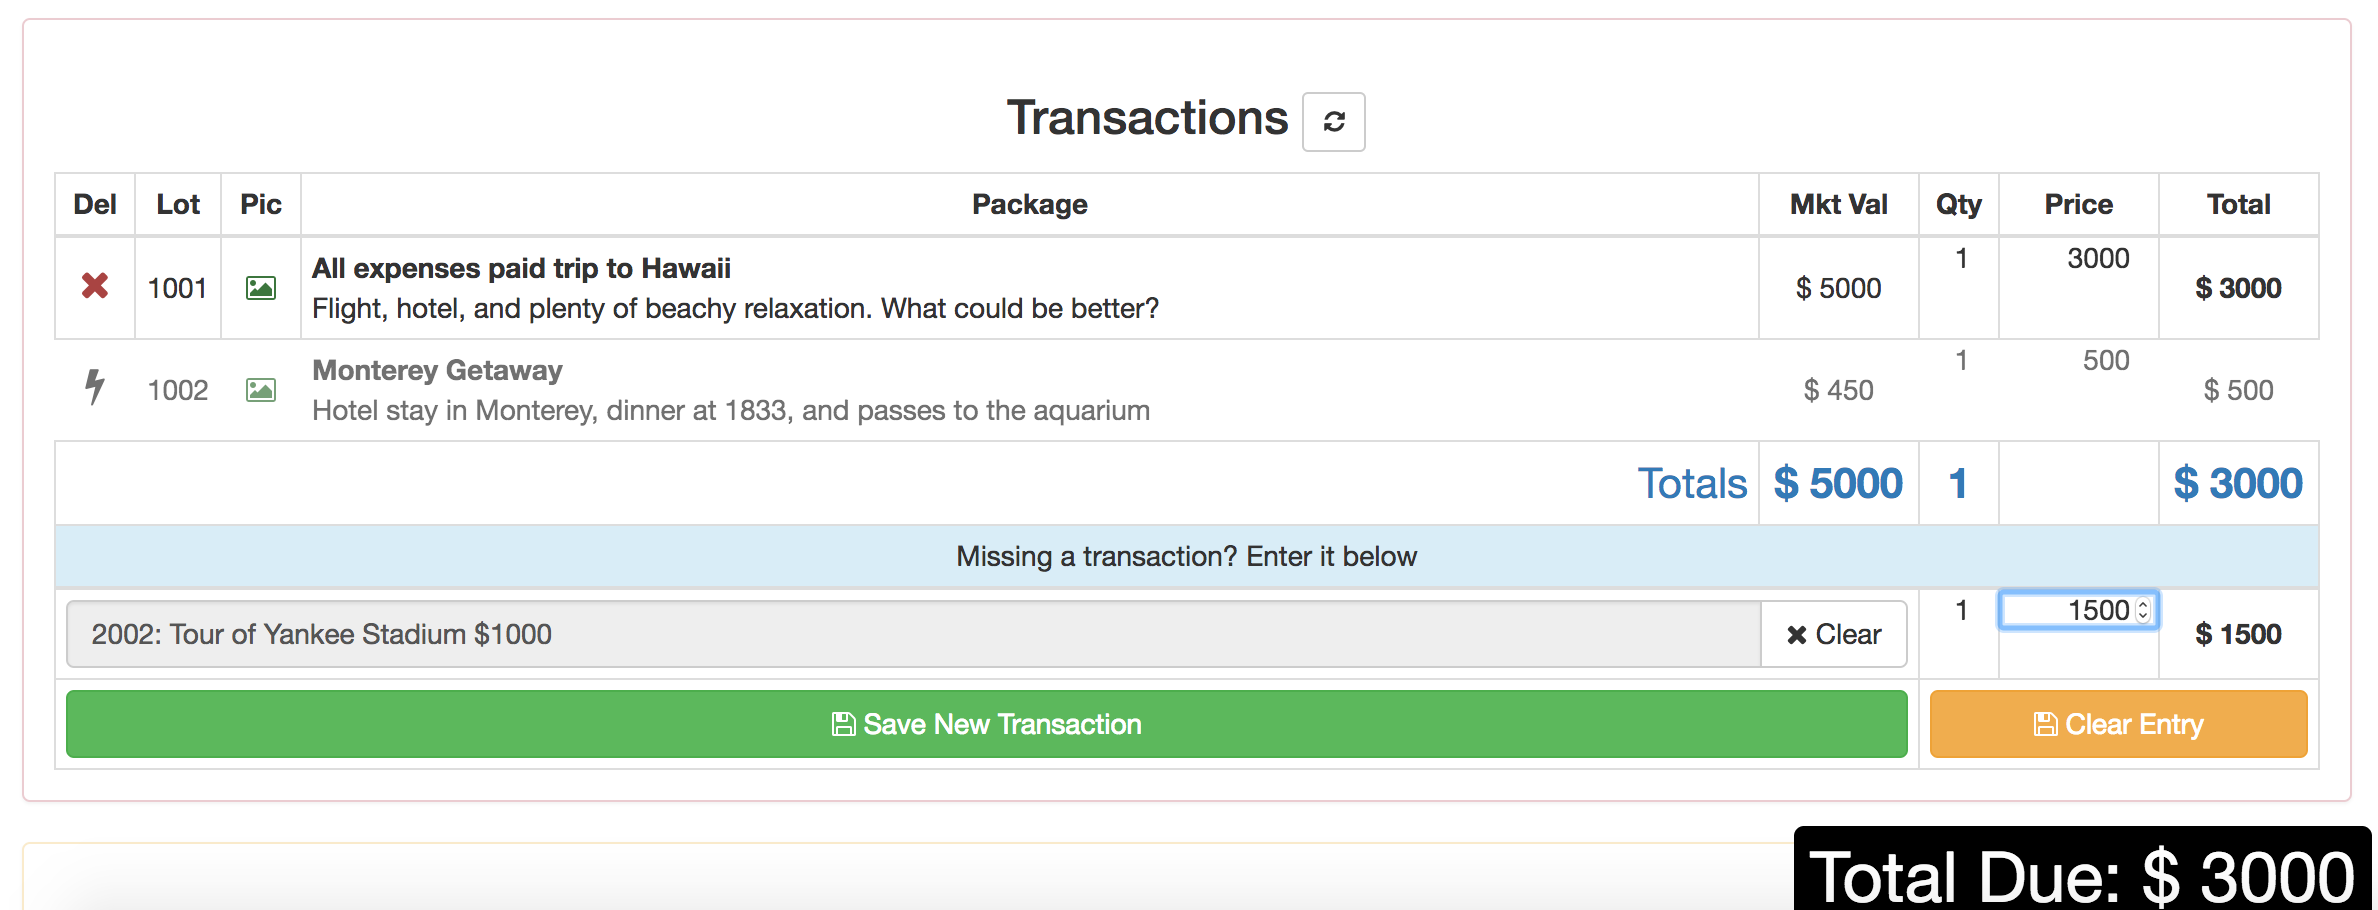
Review the transactions with the guest to make sure there are no errors. Note: The “Mkt val” column states the fair market value of an item. The “price” column defines the price the customer should pay. An item purchased is only tax deductible for the amount in which the purchase price exceeds the market value. In this example, the purchase is not tax deductible. You can see a customer’s total on the very bottom of the screen as well under the “Total Due” box. If a transaction was entered by mistake, click the red X on the left to delete the transaction. In the example below, the Monterey getaway was deleted. If you deleted the transaction by mistake, click the lightning bolt to revive it.
To edit any other transaction details, please head to the transactions section and find the appropriate transaction to edit any details (this tutorial can help you edit a transaction). To add missing transactions, you can enter it directly below the transactions list. In this example, we entered a tour of Yankee stadium with a purchase price of $1,500. Click the green save button to add the transaction.

- Process payments
Once your guest confirms the transactions. You can collect payment. You can enter as many payments as you need to reach your total. Simply select the type of payment from the drop-down menu. MyGala will then ask you to enter the last four digits of a credit card, the check number, or the type of cash bills you accept. Then enter the payment amount and click save. If you accidentally entered a transaction, click the red x on the left. If you mistakenly deleted a transaction, click the blue lightning bolt to revive it. Note: MyGala collects payment information to help you reconcile your payments at the end of the night. However, MyGala is not a payment processor, so you will need a credit card machine to accept credit cards.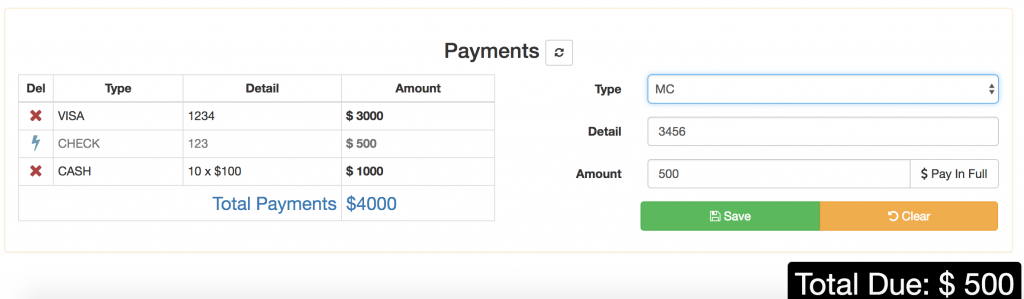
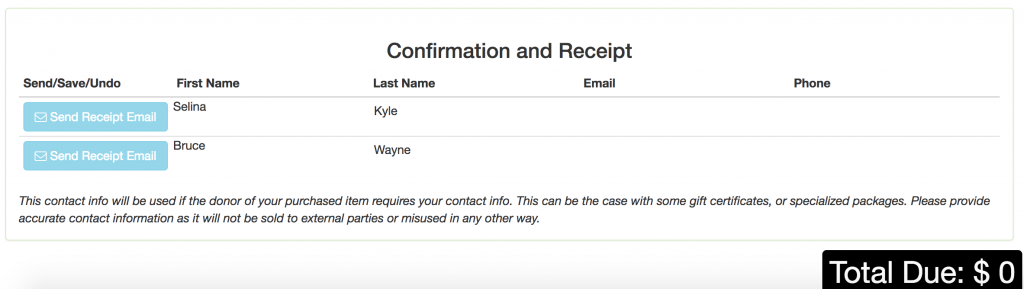
- Send a receipt
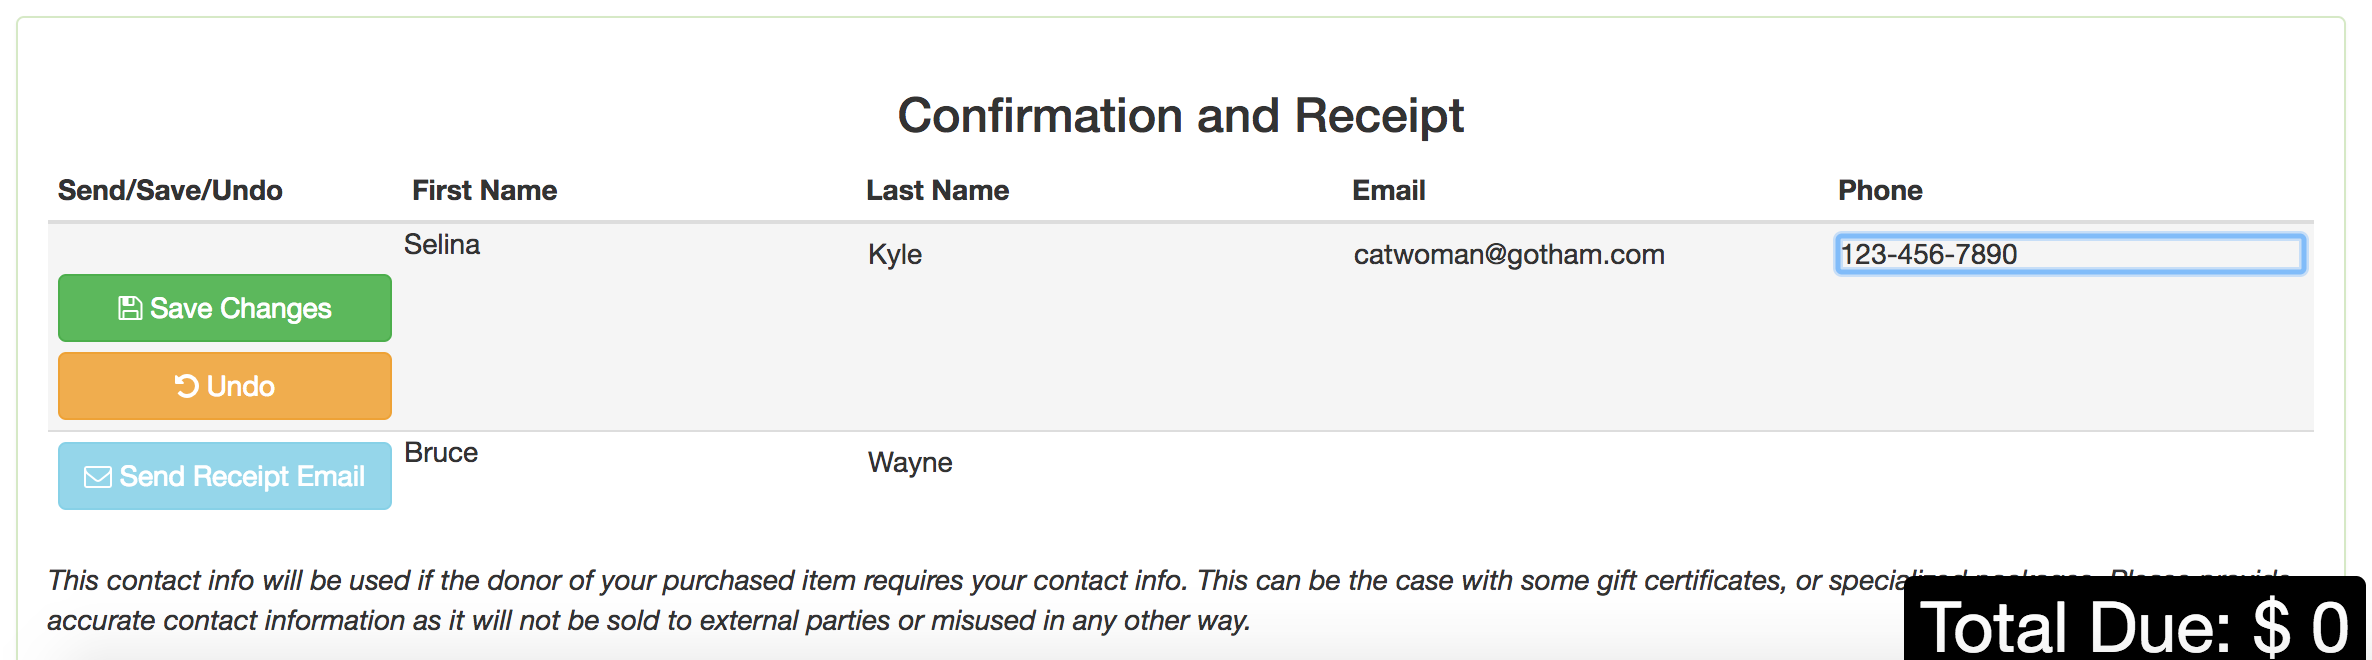
Once your guest is paid in full, you can send your guests an email receipt. Be sure to confirm that you have the right email address on file with your guest. In this example, Selina and Bruce are both missing emails and phone numbers, so the “Send receipt email” button is faded and won’t work without a valid email.
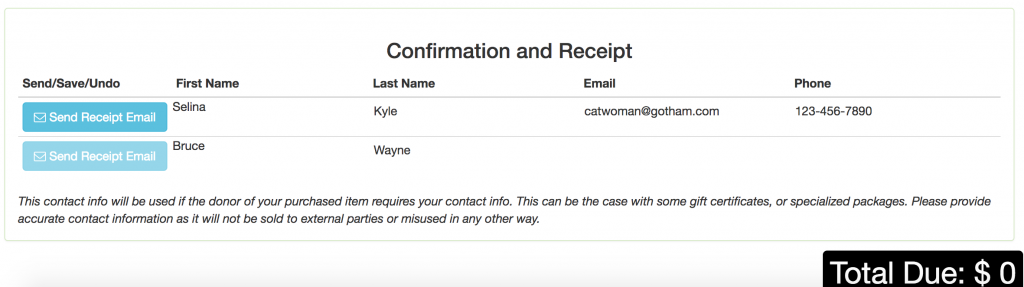
To edit or add an email address/ phone number, click on the appropriate field and enter in the corresponding information. Click save to save your changes.

Now that the system has a valid email address, you can press the “Send Receipt Email” button on the left to send your guest their receipt.


We look forward to your feedback and invite you to contact us if you have any questions or suggestions. If you missed our last tutorials, be sure to check out Getting Started with MyGala, Setting up your Event Landing Page, Ticket Purchases, Checking in a guest, and Entering a Transaction.