If you missed the last two tutorials, check them out here: Getting Started With MyGala and Building Your Event Landing Page. For this next tutorial, we’re going to tackle the ticket purchase process as a reference for our non-profit customers.
- Add tickets to your event
You can add new tickets to your event via the MyGala admin area. Simply go to the Event tab and click on Tickets. We go over this step in detail on our Getting Started With MyGala tutorial.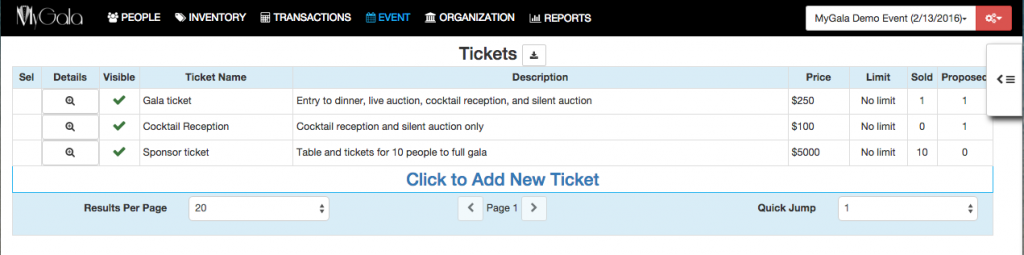
- Add a ticket sales section to your event landing page
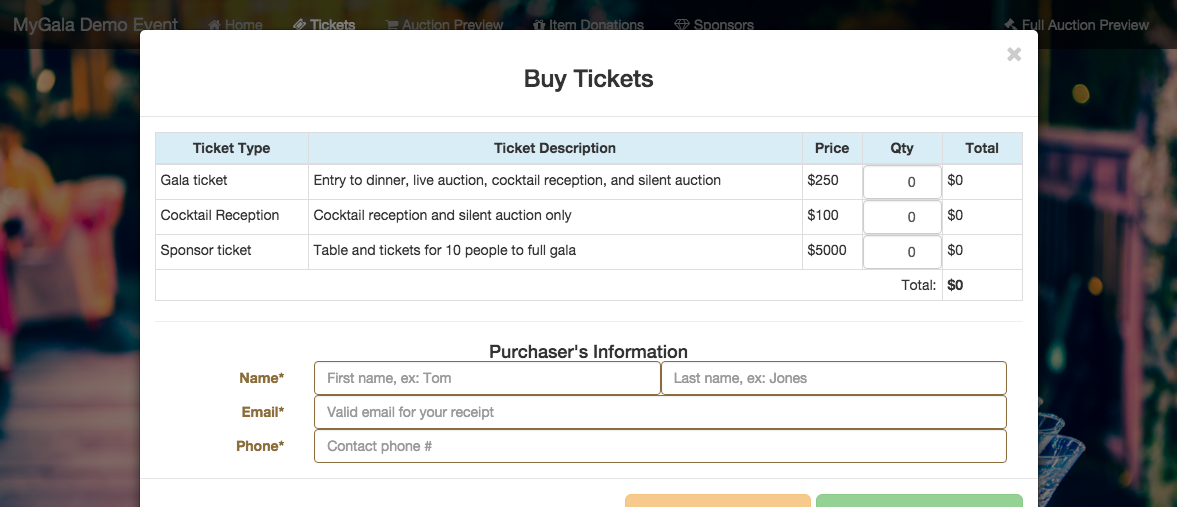
After you’ve created your event landing page, be sure to add a ticket sales section to your landing page using the “Ticket Sale” template. Note: You will need to sign up for a Paypal account to receive payments for your tickets. Please read our Event Landing Page tutorial to get in-depth instructions.
- Market Your Event Landing Page and Sell Tickets
Market your event landing page on all your event collateral to encourage online ticket sales. You can post the link on your event invitations, email marketing templates, flyers, etc. Once you’ve gotten the word out about your event, you can watch the ticket sales come in. - Visit the Ticket Purchases area
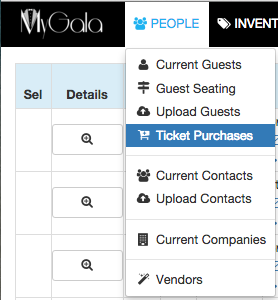
Once you’ve begun collecting ticket sales, you can review all purchases via the Ticket Purchases area. Simply go to the “People” tab within the MyGala admin area and click on ‘Ticket Purchases.”
 Each ticket purchase will look as follows. The Details button (magnifying glass with the plus sign) will open up any ticket purchase so you can edit details. You will either see a thumbs up or thumbs down icon under the Paid column to indicate whether the purchase was paid for or not. When the ticket purchase is ready for approval, you will see a green check mark, otherwise it will have nothing. The Attention column will indicate how many items in the ticket purchase need your attention. The Buyer column provides all of the Buyer’s contact information. The Tickets column specifies the number and types of tickets sold. The Guest information column will display the person assigned to each ticket type. Lastly, the Connected Contacts column shows you how many guests were previously added to your Contacts list. If you are a new user, most likely 0% of your ticket purchases will have a previous record in your Contacts list.
- Confirm Information
Click on the “Details” button to open up a ticket purchase.From this screen, review all the information provided. You can mark a purchase as “Unpaid” if it was marked “Paid” in error. If everything looks correct, you can approve the purchase by clicking on the green “Approve Proposal” button.
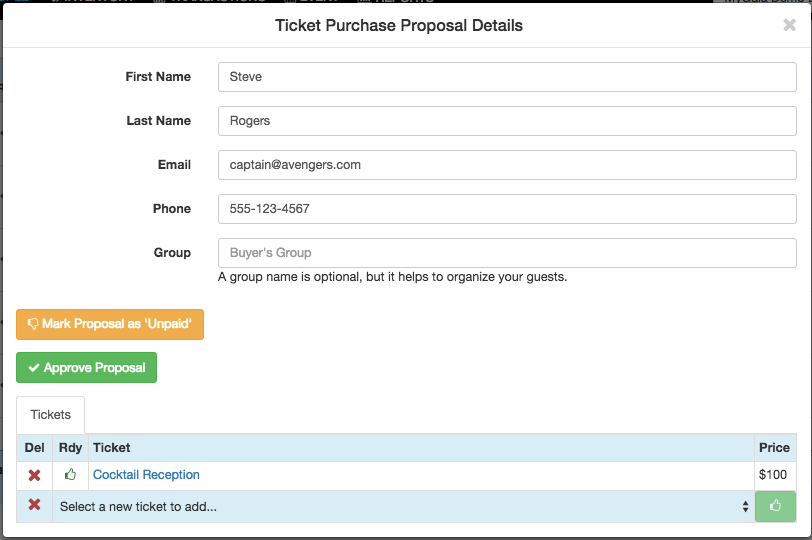 You can also review individual tickets from the bottom “Tickets” area by clicking on the link. For example, on this purchase, you would click on “Cocktail Reception” to open up the ticket.
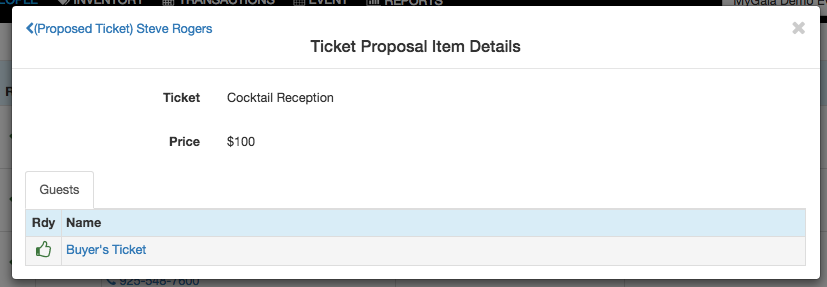 Confirm guest information, payment, and create a new contact for each ticket or link with an existing contact
 - Approve the ticket purchase
Approve the purchase and send a confirmation email to your guests.


New contacts have been added to your guest list. Congratulations, you just confirmed a ticket purchase.
We are constantly adding new templates and user controls to your MyGala event landing page to help make this page exactly what you want. We look forward to your feedback and invite you to contact us if you have any questions or suggestions. If you missed our last tutorials, be sure to check out Getting Started with MyGala and Setting up your Event Landing Page.