For this tutorial, we’re going to give you an in-depth guide to setting up your event landing page after you’ve purchased MyGala for your event. The event landing page is your one-stop shop to market your event, provide crucial information for event guests, sell event tickets, solicit auction donations, and highlight your auction packages and event sponsors.
We’ve made your event landing page customizable so that it can reflect your organization’s brand and your event’s look and feel. Each section of your event landing page is designed to be mobile-friendly, and visually appealing. You can view a sample event page here at MyGala’s Demo Event landing page.
Note: All of our MyGala packages include training sessions for your organizational users and volunteers, but this tutorial can help supplement your training or help you get started. We want to help you succeed, so please contact us with any questions or to schedule your training session!
- Complete the steps listed in Getting Started with MyGala tutorial
In case you missed it, be sure to read our Getting Started with MyGala tutorial where we talk about how to do preliminary tasks on MyGala. - Some Basic Tools on Your Event Landing Page
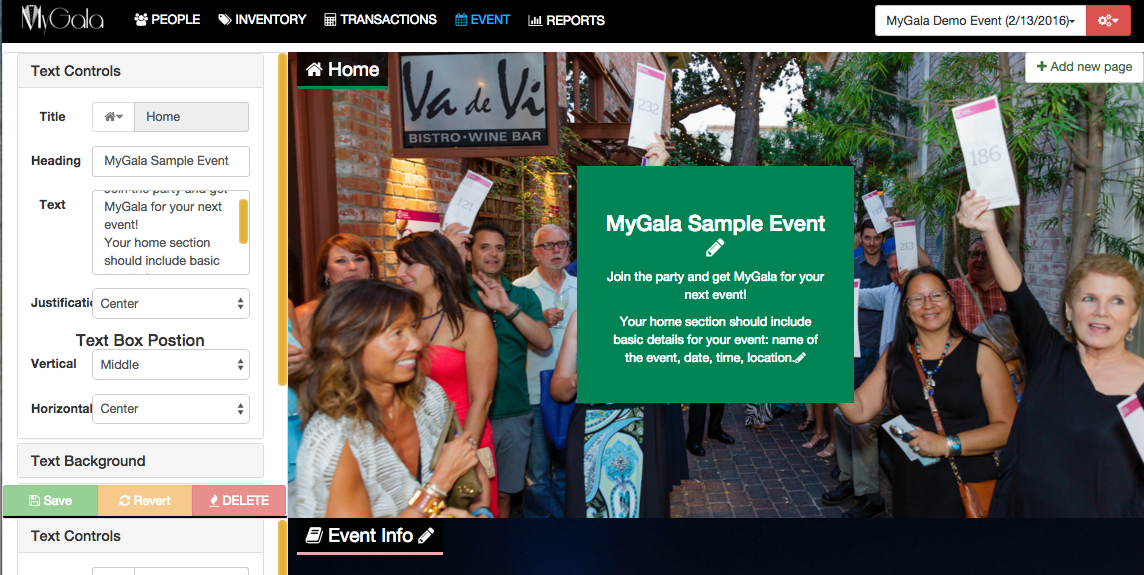
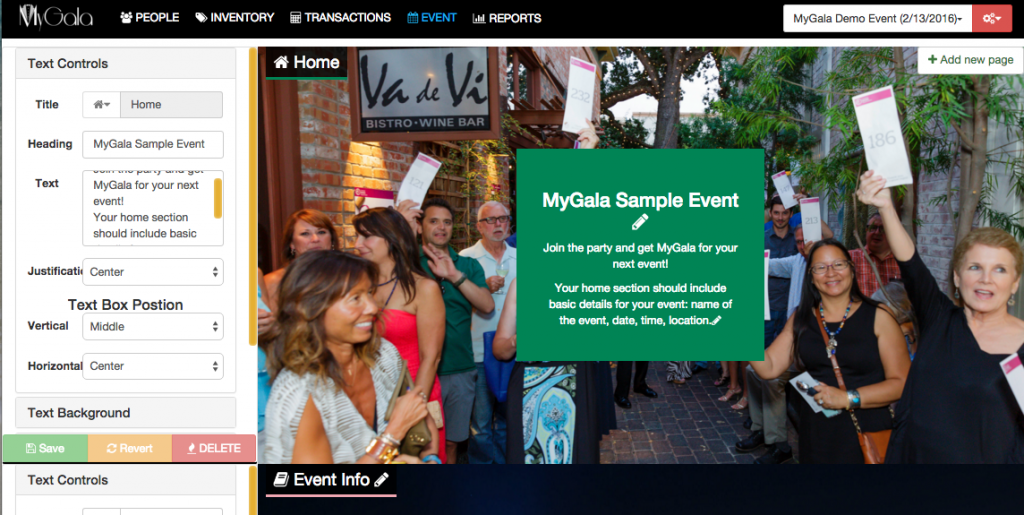
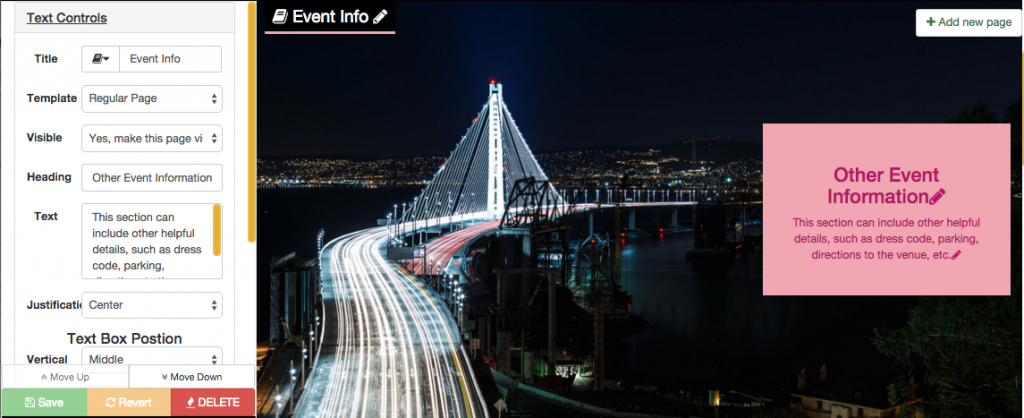
To begin editing your landing page, head to the MyGala admin area. Hover over the “Event” tab and then click on “Landing Pages.” You will see the following page editor, with the editing tools located on the left and a live preview on the right.When you have completed any changes on a particular section, click “Save” to avoid losing any changes.
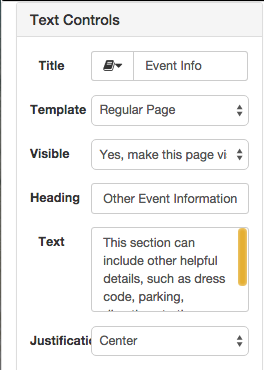
 Adding text – Each section has 2-3 text boxes. For every section, except home, you can edit the title of the section (on the area named “Title”) and select a custom icon for the section from the dropdown menu. You can also create your own custom heading (e.g. Other Event Information) and edit the text inside the text box. You can also pick how you would like your text aligned (left, center, or right) using the dropdown menu labeled “Justification.”
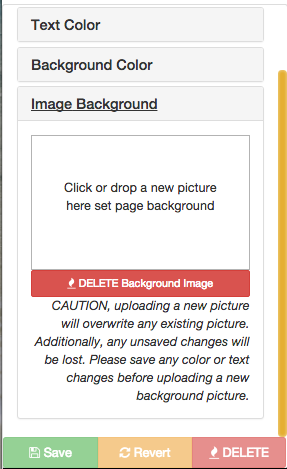
 Uploading a picture background –
From the section editor on the left, click on the “Image Background” section. **Make sure to save any other changes you have done to a particular section prior to uploading a picture background.** From there, you can drag and drop an image into the box or click on the box to upload a new image. We recommend uploading an image that is at least 1200×600 pixels to get the best image resolution on your event landing page. If you would like to change the image selected, simply repeat the following steps. If you would like to use a color background instead, click on “Delete background image” and select a background color from the “Background Color” section.
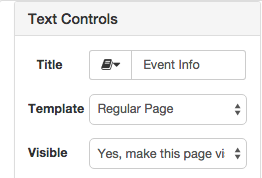
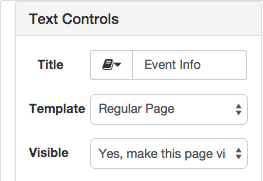
Making Each Section Visible/ Invisible – MyGala allows you to create a new section that is invisible to the public. From the dropdown menu that says “Visible,” you can select whether to make it publicly visible or not. You may want to use this feature when you are in the process of editing that section. We also recommend using this feature on your auction preview section. Because the auction preview displays all available auction packages, you may want to hide this section until you have items available to preview.
Add a New Section – Simply click on “+ Add a new Section” at the top right of your page to create a new section of your event landing page.
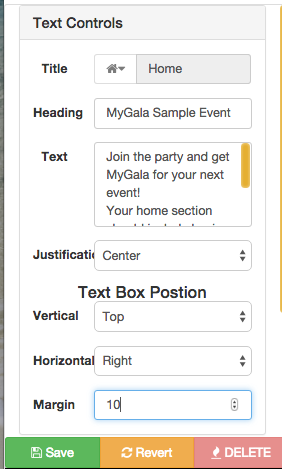
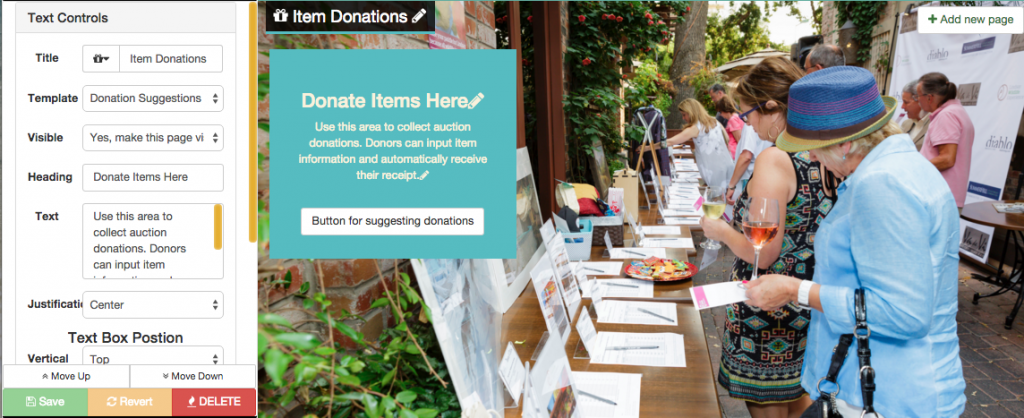
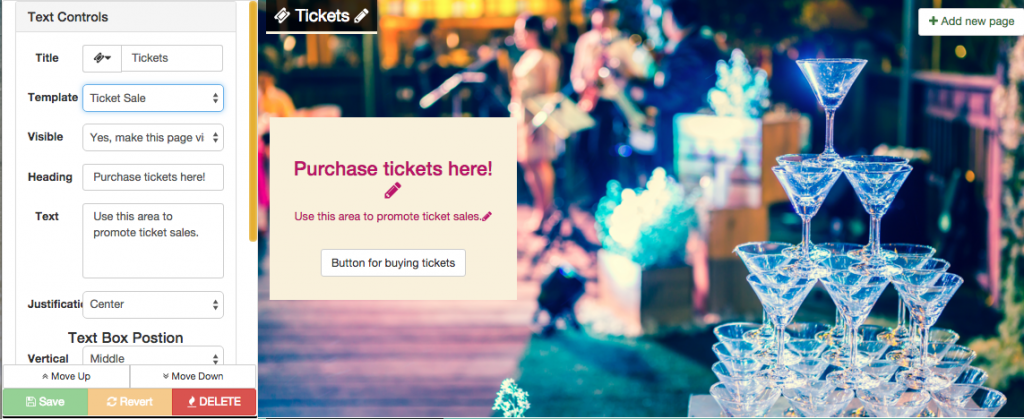 How to Move Your Text Box – MyGala also lets you move the position of the text box horizontally or vertically. You can do this from the Text Controls area. Under “Text Box Position,” you can choose vertical positioning, either top, middle, or bottom. You can also select horizontal positioning, either left, center, or right. If you select either left or right, you can modify how far to each side it is using the “Margin” feature. For example, we selected “Right” with a margin of 10%. Thus, the text box will display 10% of the total page size away from the right side. We recommend this feature to better display a particular portion of your background image.
- Event Landing Page Templates
MyGala provides different templates for your event landing page as described below. To select a new template, select one of the options from the “Templates” dropdown menu under the “Text Controls” section. The following descriptions will help you choose the appropriate template for each section.
**Note: Each template, except for “Regular Page,” can only be used once.**
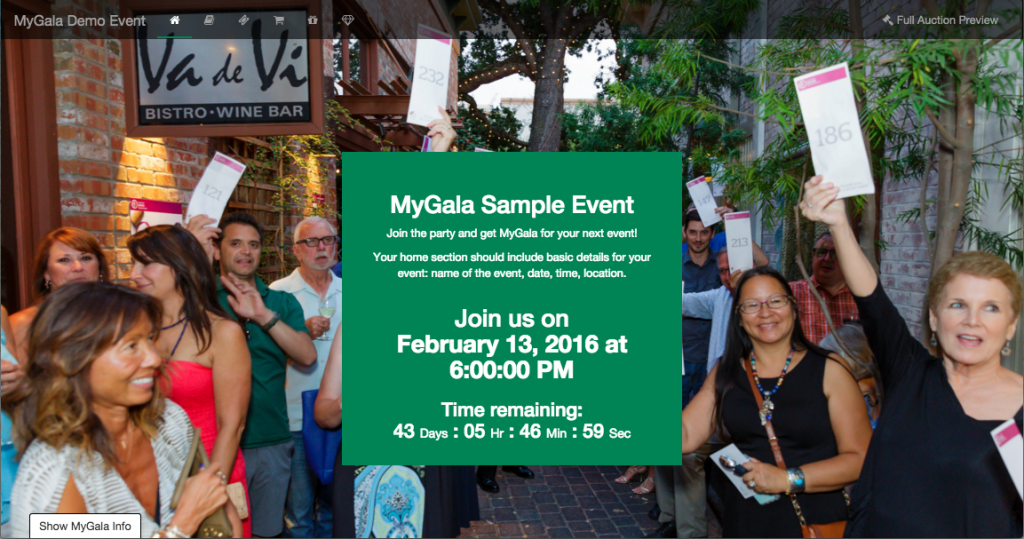
Home Page – The home page is your main event landing page section. It is always visible and will contain the date and time of your event. As seen below, all the text below “Join us on” is already included in this section. We recommend adding the name of your event, the location, and any other basic information guests may need to the editable portion of your text box.
Ticket Sale – this section allows you to sell tickets from your landing page. MyGala provides this feature at no extra charge from MyGala to you. To use this feature, your organization will need to set-up a Paypal account to accept ticket payments (all purchases are subject to a Paypal processing fee). You will also need to set up event tickets and edit the ticket purchase email template on your admin page. When you select this template, we will automatically add a button that allows guests to select the ticket they would like to purchase, fill out their information, and pay for their tickets. After purchasing their ticket, they will receive a confirmation email. Remember to add a title, select an icon, and add custom text to the page to encourage ticket purchases.

Donation Suggestions – this section allows you to solicit auction donations from your event landing page. MyGala provides this feature at no extra charge. To use this feature you will need to edit your donation thank you email template on the admin area. When you select this template, we will automatically add a button that allows guests to fill out their item and donor information, upload a picture of the item, and add any restrictions on the donation. After submitting a donation, they will receive a confirmation email. Remember to add a title, select an icon, and add custom text to the page to encourage donations.
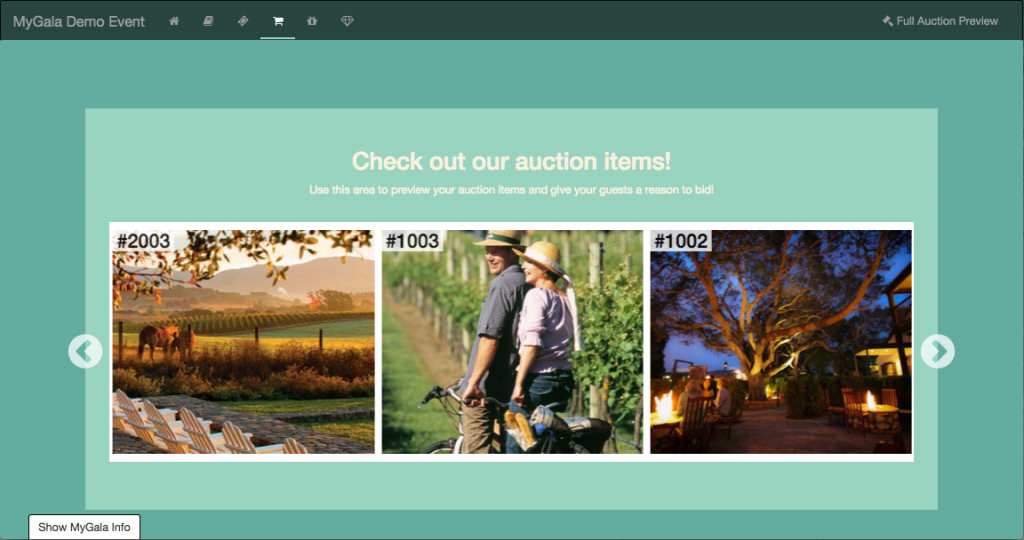
Auction Sneak Peek – this section allows your guests to preview the auction items available at your event. We provide a slider on this section that previews any featured packages, as well as a link to take them to the auction preview page. We recommend making this page invisible to the public until you have several packages listed on MyGala along with images to provide the best possible preview. You can view a sample auction preview page on MyGala’s demo event.
**Note: If you do not provide an image for your package, MyGala will provide a filler image.**
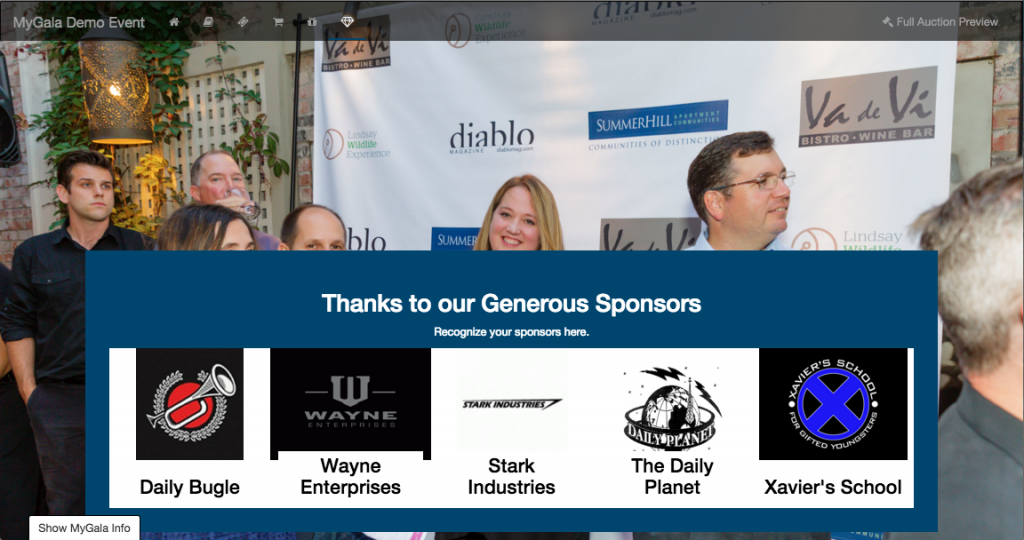
Sponsor Spotlight – this section allows your organization to highlight the event’s sponsors. We provide a slider on this section that displays sponsor logos. We recommend making this page invisible to the public until you have added a sponsor to your MyGala admin area and uploaded a logo.
 Regular Page – this template is a basic text box. Using this template, you can provide your guests with helpful event information, such as special parking instructions, an explanation of the dress code, a preview of your paddle raise, a description of your organization’s mission and programs, or anything else you’d like to include.
We are constantly adding new templates and user controls to your MyGala event landing page to help make this page exactly what you want. We look forward to your feedback and invite you to contact us if you have any questions or suggestions. If you missed our first tutorial, be sure to check out Getting Started with MyGala. Next up, we’ll delve into ticket purchases in further detail.
